
As I mentioned in yesterday’s post, I’m working on a workshop for Scala days (Join us if you can! ) that includes setting up an Akka cluster on a set of three Raspberry Pis. The workshop organizers have very kindly shared a pre-built image with me.
Up until now I’ve been working with the image on Windows 10 via Windows Subsystem for Linux, but I need to connect to the project in Eclipse to make updates, and it’s just not easy transferring files back and forth between the two systems.
Instead, I’m using Eclipse for Windows and the Windows version of the Scala Simple Build Tool (SBT). Here’s what I had to do to make that happen, in a few minutes with 2 easy steps:
- Download and install the .msi from the SBT download page
- ADD sbt\bin to the PATH.
Two handy tips for this:
For easy and error-free copying of the path, go to the sbt\bin directory, right click and choose “copy address as text”:

Then to easily add the environment variable, open the windows menu then type environment, and pick the first option:

That takes you directly to the advanced system properties dialog:
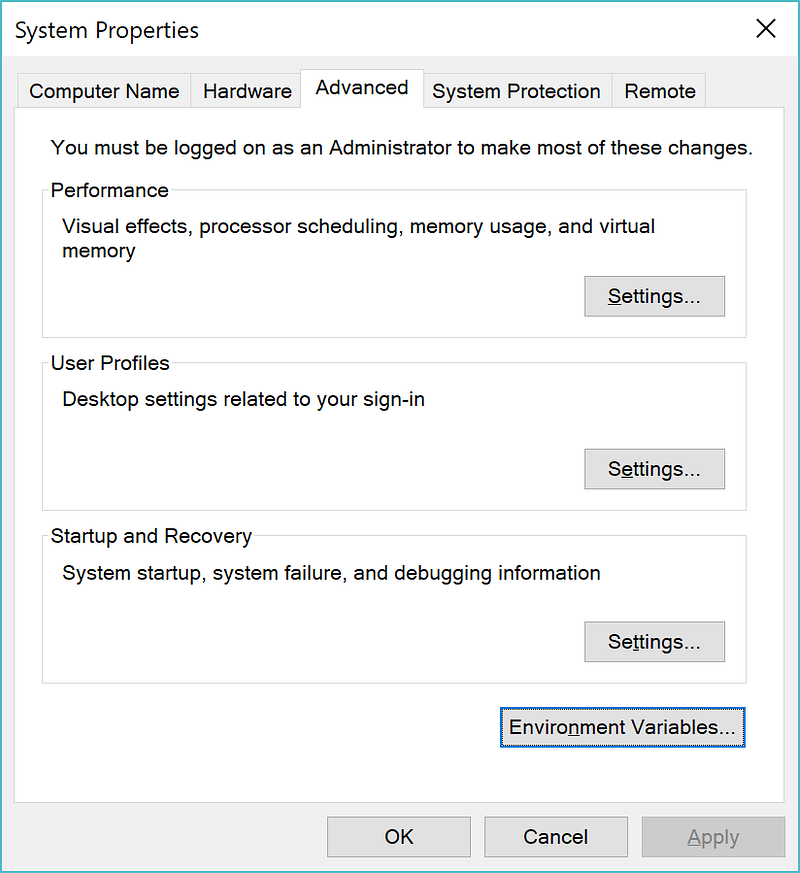
Then just pick Environment Variables, and paste the copied path in to your PATH.
One more tip: If you need to use a common.credentials file with a provided SBT script, it usually goes in
C:\Users\<username>\.lightbend
If that doesn’t work, run the script and it will tell you where it expects to find credentials via error messages.
Now you should be able to run SBT from the command line.
Optionally, to get the project working in Eclipse, add this line to your project/plugins.sbt (substitute the current version of sbteclipse from the GitHub site, mine was 5.2.4) :
addSbtPlugin("com.typesafe.sbteclipse" % "sbteclipse-plugin" % "5.2.4")Then from the project’s bae folder type
sbt eclipse
This will run for a while the first time, and generate .project and .classpath files that eclipse will use to import the project.
In Eclipse, choose File>Import>General> Existing Projects into Workspace, and choose the project’s base folder, then Next.
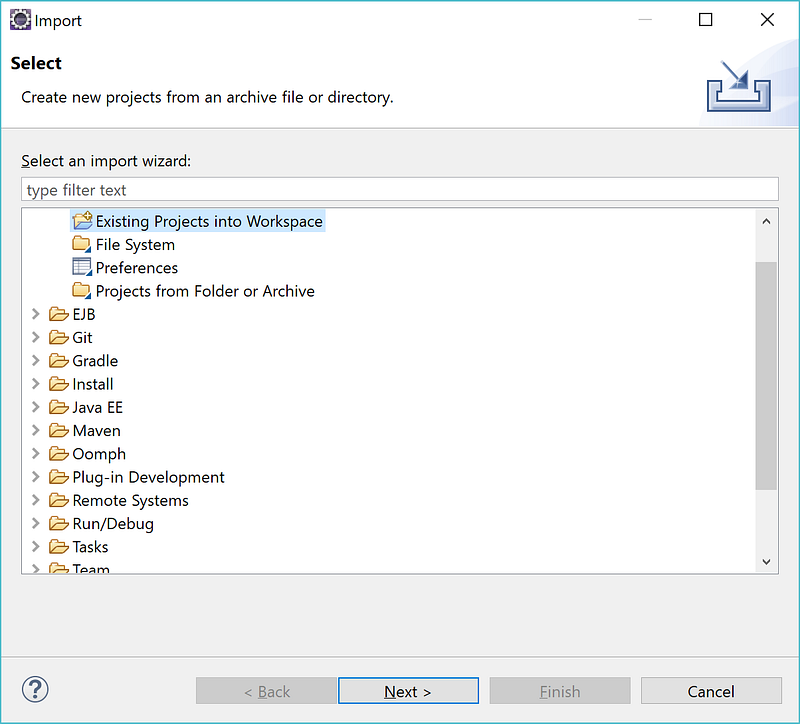
Eclipse will do the rest.
Let me know how that works!

Leave a comment